It’s officially mid-April and you haven’t started your vegetable garden yet. Don’t panic! There’s still plenty of time, whether you are starting from scratch or a veteran urban farmer, here are 6 essential steps to help you create a successful veggie garden.
Step 1: Choose your site wisely
Before you build or prep the soil or even think about planting, make sure to carefully consider where you want your vegetable garden. The best option? The sunniest spot you have (probably a southern or western exposure). Track the sun as it moves around your garden and find the spot that gets the most sun for the longest period of the day. But don’t worry if your yard is somewhat shady. Although most fruits and veggies prefer full sun, many will do well in partial shade (see step #3: deciding what to plant).
Step 2: Prep your soil
Here are your options: build a raised bed, plant your vegetables in an unplanted area of the garden or plant your veggies among your ornamentals.
No matter which option you choose, your veggies want good soil. That means adding at least 2-3 inches of compost to your existing garden soil and digging it in to 6 inches. If you are starting with an empty raised bed, fill it with a mix of 75% potting soil and 25% compost. Dr. Earth Home Grown Vegetable Garden Planting Mix is a great soil and E.B. Stone makes an excellent Soil Building Compost.
Before I start planting, I add an organic fertilizer like Dr. Earth Tomato, Vegetable & Herb Fertilizer or Espoma Garden-tone Fertilizer, and dig it into the soil to about 4 inches or so. Some veggies like more fertilizer than others, so read the instructions on the package to determine quantity and frequency. Then plant your veggies and water well.
Step 3: Decide what to plant
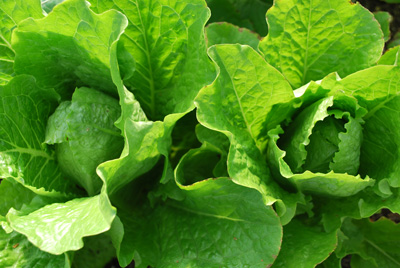
What do you like to eat? If you live on salads, plant lettuce, arugula and mesclun as far as the eye can see. If you’re lukewarm on lettuce but constantly crave peas, fill a trellis with snap peas and enjoy. Can’t live without garlic? Try planting some in the early Spring or Fall (but be prepared to never go back to supermarket garlic again).
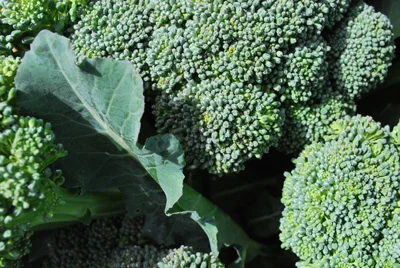
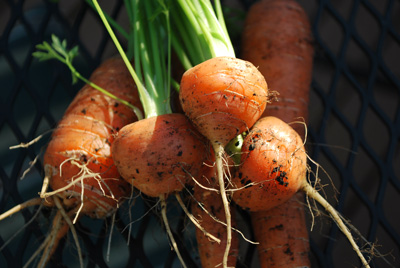
Beyond your tastes, be sure to plant vegetables that thrive in the conditions of your garden and geographical area. If your yard is quite shady, try Asian greens, Swiss chard, arugula, lettuce and kale. 4-5 hours of sun a day? You can grow peas, radishes, carrots, beets and beans. Most members of the cabbage family (including broccoli and cauliflower) need at least 5 hours a day, and forget about peppers, eggplant, tomatoes and squash unless you have a warm, full-sun spot for them (although I have had some luck with patty pan squash in an area that got around 5 hours of sun throughout the day).
That also means picking varieties that grow well in the Pacific Northwest. For example, Russian and Japanese varieties of tomatoes or German squash, instead of, say, a huge beefsteak tomato bred for the Midwest. There are tons of options and at Swanson’s we work hard to choose varieties that are adapted to our PNW climate.
Step 4: Plant at the right time
Vegetables are generally broken into two groups – cool-season and warm-season – depending on when they are planted. Here are some general guidelines:
Cool-Season: arugula, lettuce, spinach, radishes, peas, strawberries, chard, carrots, broccoli, cauliflower, beets, kale, other greens, cabbage
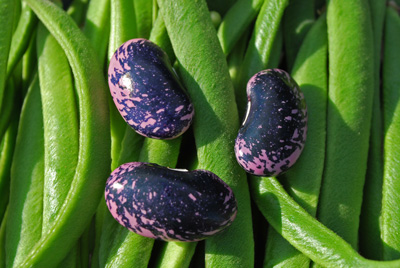
Warm-Season: beans, tomatoes, squash, peppers, eggplant, basil
A note about succession planting: After many seasons of trial and error, I learned to sow or plant small amounts or certain veggies every few weeks, for a continual harvest. Instead of planting 15 heads of lettuce (or sowing several seed packets) all at once, plant a little at a time. Then, you will not be confronted with 15 ready-to-harvest heads of romaine all in the same week (although the food bank was extremely excited when I dropped off all that fresh produce. Which reminds me, grow a little extra and donate it to your local food bank. It can really make a difference).
Step 5: Watering and Mulch
The key to a successful garden is consistent watering and care. I recommend setting up a drip irrigation system or soaker hoses (dripping, not spraying) throughout your beds. If you can, use a timer and water deeply and consistently once or twice a week (depending on the weather - less in cooler weather, more in extreme heat).
Not only will this method help you conserve water, but your young charges will respond to a schedule and thrive. Inconsistent watering weakens the plant and can lead to diseases or leave it susceptible to the ravages of pests (it’s survival of the fittest out there).
Many vegetables dislike having their leaves wet (this also encourages disease – beware fungus!), so watering from above is not a great choice. Besides, you aren’t watering as deeply as you think when you water by hand. If you don’t believe me, water and then dig down several inches and see how deeply the water has penetrated. Now go back and set up your soakers.
Mulch can help protect the roots of your plants from cold and heat, as well as conserve moisture and suppress weeds. Several inches of good compost, such as Gardner & Bloome Soil Building Compost, works like a charm.
Step 6: Organic pest and disease control
You’ve done everything right, but your plants are still being attacked: aphids, mites, mildew, slugs! What’s a gardener to do? Here are a few organic choices that can make a difference:
Row covers – light, airy fabric that you can use to cover your young seedlings. It protects against flying pests (not so much what is already living in the soil) but lets light, water and air through. Cover loosely and your plants will push up the row cover as they grow. Be sure to pin down the edges with stakes, rocks or boards to keep out pillaging slugs.
Companion planting – look for a more in-depth post on this later. For now, know that French marigolds protect tomatoes, carrots, radishes and more by repelling white flies, root nematodes and eelworms.
Crop rotation – Rotate your crops so that you don’t grow the same thing in the same spot year after year. Many pests target certain vegetable families. Crop rotation discourages these wily pests that overwinter in the soil, only to wake up ravenous and ready for you to replant their favorite snacks. It is most important to rotate members of the cabbage, carrot, nightshade and onion families. Seattle Tilth’s Maritime Northwest Garden Guide is a great resource on crop rotation (and other edible gardening topics). They make it easy to remember with the following phrase: leaf, root, flower, fruit (attach it to a melody and you're set).
Organic insecticides and treatments - If worse comes to worse, there are a variety of safe and natural options out there to help control specific pests and diseases. Always ask to be sure they aren’t detrimental to pollinators and beneficial bugs and are safe around kids and pets. Sluggo is a good option for slugs and Bonide makes several products for pests and diseases.
Now, armed with a plethora of information, go outside veggie gardeners and let’s grow some food!
Photographs: Aimée Damman


